Maik the Mechanic
Setting up the fork and shock
The best full suspension bike can’t show its potential if it isn’t adjusted correctly. Maik the Mechanic shows you how to easily set up the fork and shock correctly in just a few moments, so you can make the most of your darling

Step 1: For forks with adjustable travel: Fully extend the fork. Make sure your fork damping is fully open. Set the air pressure according to the manufacturer’s recommendation. This can be found on the fork leg or in the manual.

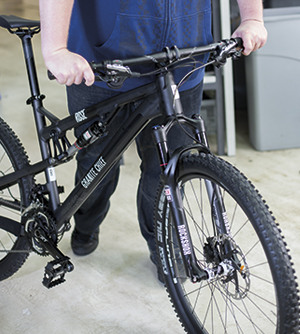
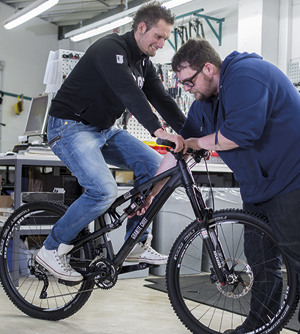
Step 2: A second person should hold the bike at the handlebar, or if you’re alone then a wall or rail might help. Climb on, ideally while wearing your full gear, take the starting position in the middle of the bike. Bounce a few times to let the suspension elements compress.
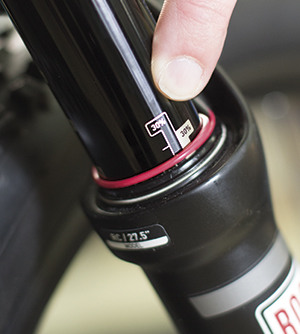
Step 3: Sit still and push the rubber ring (or use a zip tie if there isn’t a ring) all the way down the tube.

Step 4: Get off your bike carefully so that the rubber ring doesn’t move.
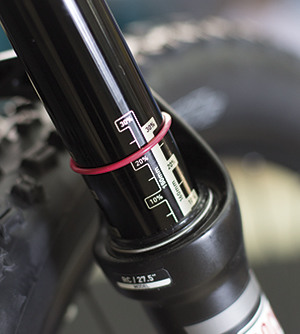
Step 5: The distance between the seal and the rubber ring tells you your sag, which should be 20-30% of your overall travel. (If there is no sag scale listed on the leg, you’ll need to use a ruler to measure it). If the sag is under 20%, remove air. If it is over 30% percent, add air.
Setting th fork rebound
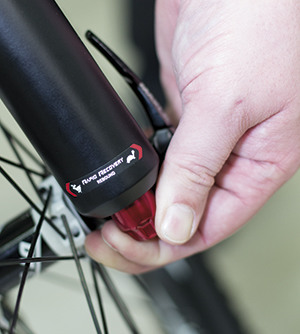
Step 1: The rebound determines the speed at which the fork bounces back. The dial for adjusting it is usually red. Before setting it, make sure the rebound is in the fully open position.
Step 2: Press the handlebar quickly and energetically to let the suspension compress. For the rebound, let go of the handlebar and check that the front wheel isn’t leaving the ground. If the front wheel lifts off the ground, dial in the rebound so that the bounce back speed is slower. Repeat until the front wheel no longer lifts off the ground.
If the fork has a separate pressure adjustment for damping, then this can also be adjusted. The harder you set it, the less bounce you get with the fork when standing up, though the comfort is reduced as well.
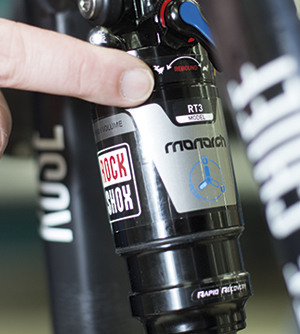
Setting the rear shock SAG
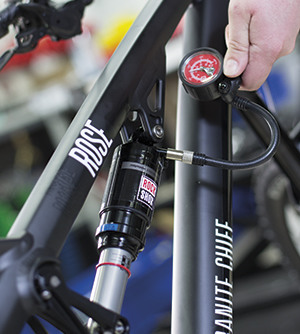
Step 1: Pump it up to the pressure recommended by the manufacturer.
Step 2: Take the starting position on the bike and compress the suspension elements a few times.
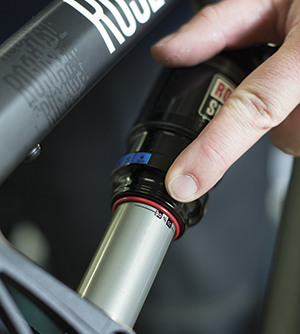
Step 3: While in the starting position, push the rubber ring against the shock, then carefully dismount.

Step 4: The shock’s level of sag depends on the intended use for the bike. The following guidelines can help: 15-25% sag for races / marathons, 20-30% for all mountain / enduro, and 30-40% for downhill. The more travel you have available, the softer it is adjusted.
Setting the shock rebound
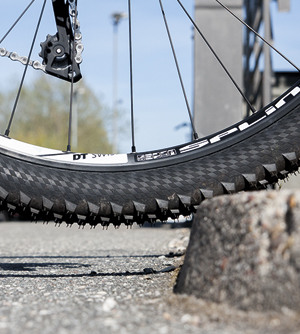
Step 1: Slowly roll down the side of a curb - this should have the shock bouncing 1.5 times. Meaning, it should compress fully once and then stabilise itself.
Step 2: If the rear stay bounces harshly, dial in the rebound so that the bounce back speed is slower. The rebound dial on the shock is also usually red.
Once you’re pleased with the adjustments, the setup is done! With these easy steps you’ll have a good base setup. Depending on your personal preferences and riding style you can fine-tune the suspension to be somewhat softer or harder.